
The bevel cut on a miter saw relies on the tilt of the cutting head in relation to the table. This action seems simple on paper, but the precision of the result depends on parameters that the machine’s graduations alone cannot guarantee. The actual angle of the blade, the condition of the teeth, and the allowable capacity for compound cuts: each variable impacts the final quality of the assembly.
Squaring the cutting head: the adjustment that graduations cannot replace
Before any bevel cut, the first check concerns the actual alignment between the blade and the surface of the table. The graduations molded on the casing provide an indication, not a reliable measurement. A half-degree deviation is enough to produce a visible joint on a frame or a baseboard.
The safest method is to place a carpenter’s square against the body of the blade, with the machine unplugged and the head lowered. The square must never touch the teeth: their slight lateral offset distorts the reading. The heel of the square is pressed against the table and the arm against the flat face of the disc, between two teeth.
If a gap appears between the square and the blade, the 0° stop needs to be corrected. Most models have an adjustment screw accessible behind the casing. After adjustment, the 45° stop should also be checked, as the two positions do not mechanically compensate for each other.
This check takes less than two minutes. It prevents discovering the problem at the time of assembly when the pieces are already cut. Anyone wishing to delve deeper into the logic of each type of cut can cut bevels with scie-radiale.net, where the steps are detailed by cut category.
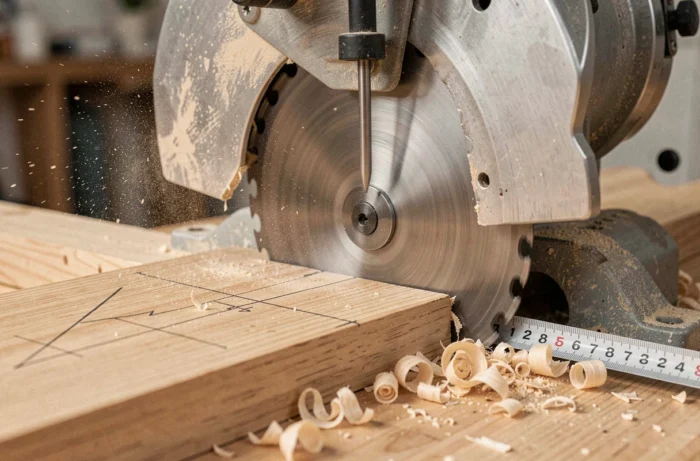
Compound cutting on a radial saw: actual capacity depending on the angle
A compound cut combines a miter (rotation of the table) and a bevel (tilt of the head). This is the necessary configuration for crown moldings, cornices, or certain framing assemblies. A common trap is to assume that the maximum cutting capacity remains the same regardless of the angular setting.
The allowable height decreases when the miter and bevel are set simultaneously. On the Milwaukee M18 FMS254-0, for example, the technical data distinguishes several capacity values depending on the combination of angles. A piece that passes easily in a straight cut may jam against the casing or the guide when the head is tilted at 45° and the table is turned.
Before starting the cut, it is therefore necessary to:
- Check the model’s documentation for the capacity in compound cutting (allowable height and width for the targeted angle combination).
- Perform a dry run, with the machine off, by lowering the head and then pulling the arm forward to detect any contact between the blade and the guide or clamp.
- Reduce the thickness of the piece or modify the approach angle if the margin is insufficient, rather than forcing the passage.
Ignoring this step exposes one to the risk of the blade jamming while rotating, with a risk of the piece being ejected.
Blade and bevel finish: why the choice of tooth design changes everything
Bevel cuts are often visible cuts (baseboards, frames, coverings). The quality of the blade weighs more heavily here than on a hidden framing cut.
A dirty or dull blade heats the wood and degrades precision. The result manifests as burn marks on the edge and chips along the edge. On resinous species, the resin cooked by friction accumulates on the teeth and worsens the phenomenon with each subsequent pass.
Fine tooth or alternating tooth
For a clean bevel finish, a blade with alternating teeth and a high tooth count minimizes chipping at the cut exit. Blades with a low tooth count, designed for fast cutting, leave more pronounced marks on exposed faces.
Regular cleaning of the teeth (with a product suitable for resins) extends the life of the blade and maintains cutting quality. Replacing the blade before it is visibly worn remains the most cost-effective reflex: a tired tooth design is instinctively compensated for by increased pressure, which increases vibrations and angular deviations.
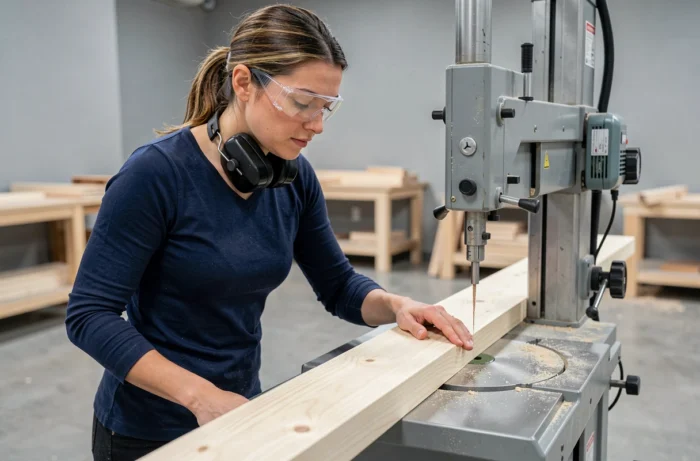
MDF dust and respiratory safety in bevel cutting
MDF is a common material for baseboards and moldings, thus frequently cut at a bevel. Its dust poses a specific problem that solid wood does not present to the same degree.
MDF dust contains chemical binders that justify respiratory protection of type P2, in addition to the basic dust mask often supplied with the machine. Eye and ear protection are of course necessary, but they do not cover this particular risk.
The dust extraction integrated into the radial saw, when it exists, captures some of the chips without eliminating the fine particles in suspension. Connecting a workshop vacuum with an appropriate filter significantly improves air quality around the workstation.
Points of vigilance for the cutting station
- Work in a ventilated space, with the door or window open, especially for long runs of MDF baseboards.
- Change the workshop vacuum filter more often than with solid wood: fine dust quickly clogs the filtering media.
- Wear P2 respiratory protection from the first cut, not just when the dust becomes visible to the naked eye.
The bevel cut generates a volume of dust proportional to the exposed edge surface. As the tilt of the blade increases this surface compared to a straight cut, the dust flow is mechanically higher on a 45° bevel than on a 0° cut.
A successful bevel is rarely determined at the moment of the cut itself. It is prepared upstream, through squaring checks, verifying the capacity for compound cutting, and choosing a blade suitable for the material. These three steps, conducted before plugging in the machine, eliminate the majority of defects observed on visible assemblies.